Areas
The Areas component of the Project Manager allows you to customize the "Areas Tree". The Area Tree lets you specify a logical tree of data sets and allows related data sets to be grouped together. For example, Country data sets are contained within a Global data set, State data sets are contained within Country data sets and Local (e.g. City or Region) data sets are contained within State data sets.
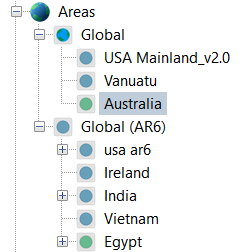
Adding areas
- On the Project Manager, select an Area Item (Global, Country, etc) where you wish to add the new area to.
- Click the Add button on the toolbar.
- The Add Area dialog box will be displayed. Select the Data Source and Data folder you'd like to add. If you have downloaded a SimClim area (.zip file), click the Import button and it will be imported to the selected Data Source.
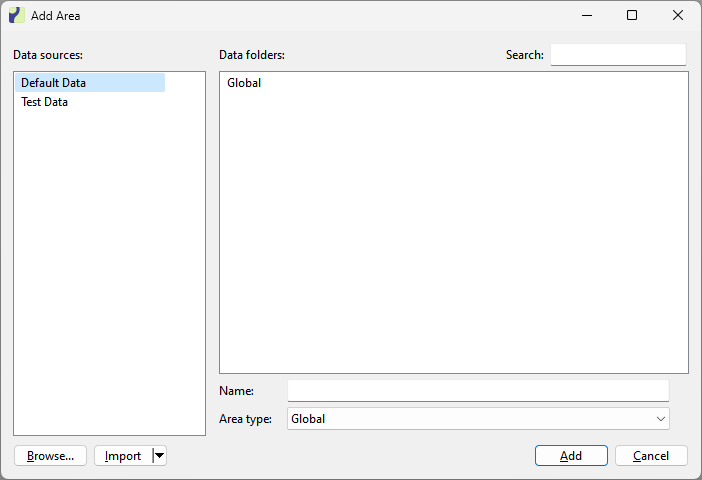
- Specify a name (if the default is not appropriate) and Area type.
- Click Add. The Area will be added to the Areas Tree.
Adding areas that have been auto detected
- When SimClim started it will search all configured Paths for new areas.
- If any new Areas are found they will be displayed in a box at the bottom of the Project Manager.
- Drag the area(s) you want to add to the Areas Tree (either the root "Areas" item, or an existing area. For example, you would drag the "New York" state area into the "United States" country area).
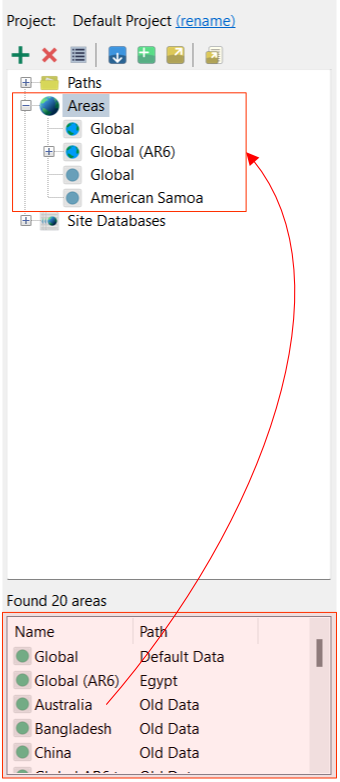
- The area will be added to the Areas Tree.